From Cake Lab

Thursday, December 15, 2011

Whimsical Stack of Chrsitmas Presents Cake

Two years ago my cake hobby was still really new. That Christmas I decided to make a real elaborate cake scene consisting of five presents (one for each member of my family). It was a pretty huge disaster. I tried carving for the first time and everything fell apart (NEVER carve a warm cake), so I ended up starting over and making a simple snowflake cake.
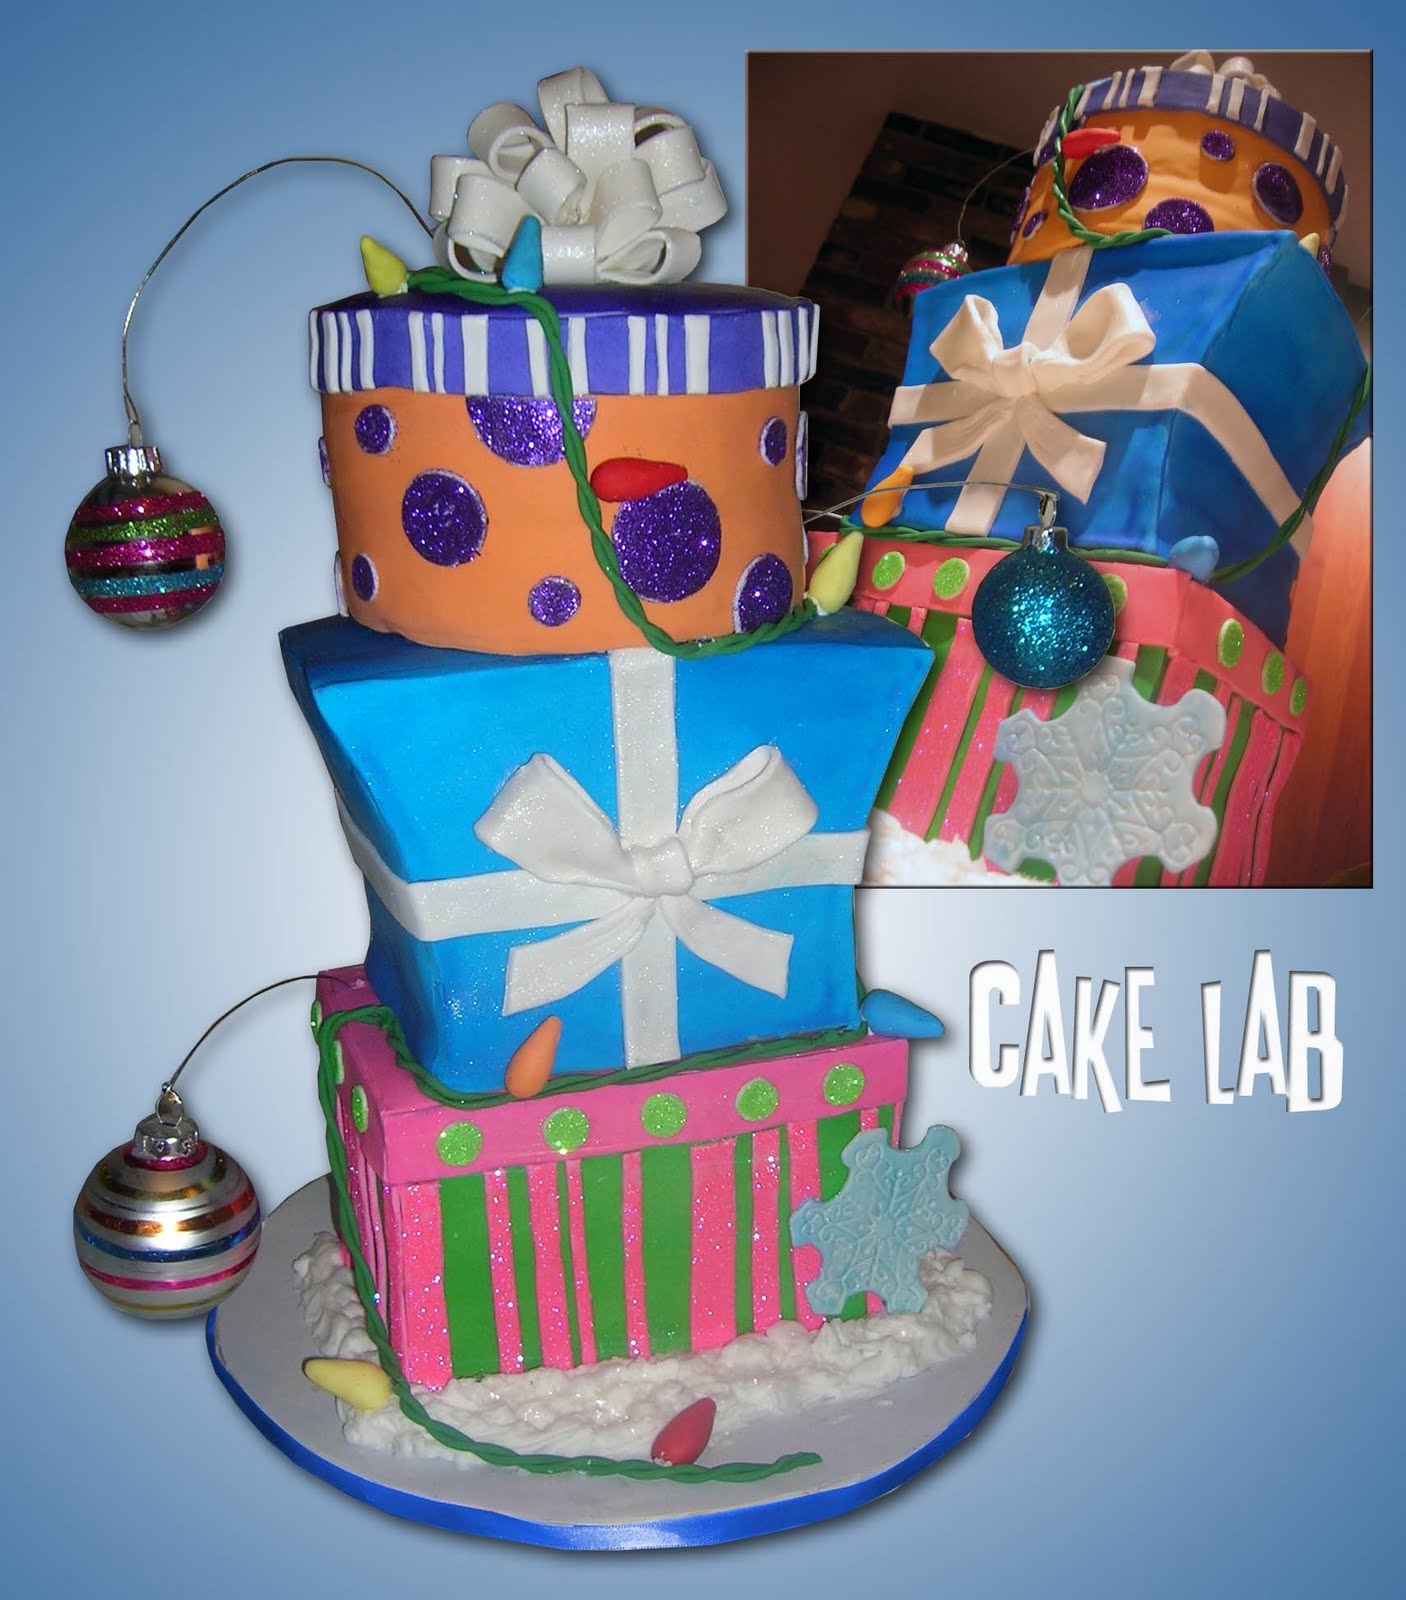
Two years later and I have come a long way...which I should hope so, otherwise this path would seem pretty pointless. Not only are these presents bigger, but they are stacked and one is shaped. I'm also now a big fan of paneling the fondant for squared cakes. The angles are so much sharper than when you drape fondant.


All the details on the cake are edible, although I did decide to include real ornaments basically just to save time. it would have been cool to make them out of cake balls, but after a while I run out of steam. In terms of the overall look of the cake, I'm not really that satisfied. I had a really hard time coming up with a design for the top tier. Originally it was white and sprayed silver, but I wasn't really liking that so I airbrushed it red and applied white snowflakes. It was nice, but a little too traditional so I tore off the fondant and started over. I think I probably would have been better off keeping in the pink/green theme. Either way the cake was a hit with my co-workers. A fun, colorful cake for some fun people!

Sunday, December 11, 2011

Dr. Seuss's Cat in the Hat Cake

Last February I made a Cat in the Hat cake for fun that was based off another shop's design. The resulting cake felt bland and uninspired. This week I was pretty excited to have the chance to right my wrong. The client sent me some photos of two cake designs to choose from. After learning from my mistake I told them I would rather not try to mimic their preselected designs, so they said as long as it was topsy turvy and Cat in the Hat themed I had free reign.
After baking the cake (which required LOTTTS of strawberries), the first thing I sculpted was the fish. Originally I had found a small glass candle holder that the fish was supposed to "fall" out of, and I brushed it with blue piping gel for water. It looked cool but I put it aside till the end.
All details on the cake are edible. Rice cereal treats for the hat and box and icing images for the characters. In terms of difficultly, nothing gave me TOO much trouble. The worst part was the structure of the cake. This is definitely the most extreme topsy turvy carving I've done. In fact if you looked at the side/back it would look almost like it really would tip over...which I guess is the point, but I liked the angles I picked for the front of the cake better.


When I reached the end of placing the details on the cake, I almost forgot about the first thing I made! In my original sketch the fish was supposed to be on the top of the cake, but there was no room for him with the hat and the candles. I placed him on the bottom right but that interfered with the flow of the cake. The only option I could think of was to cut him up and stick him on the cake. I added some fondant wave accents and I'm actually really happy with the way he ended up.
So far I have yet to have a caketastrophe, but this one definitely made me nervous. The only reason I had this order in the first place was because the original baker's cake collapsed in the fridge and I was a last minute backup. Every time I left the cake I held my breath upon returning, hoping it would still be in one piece. Extra thick cake board, generous amounts of royal icing, and sturdy dowels helped keep the cake in one piece.
In the end I think it might just be my favorite cake so far. Actually kinda sad to see it go haha. I guess I have a love/hate relationship with my cakes. My least favorite part is always the beginning...baking, carving, icing, covering in fondant. I really don't start to relax until the cake is on the board and details are being added, but by that point I am pretty tired from the 5-6 hours I already put into the cake. I'm hoping one day I will have someone to help me with the grunt work!

Thursday, December 1, 2011

Blue Nissan VERSA Car Cake


It's been a while since I've made a cake purely for fun, but I had a little more free time than normal this week, and had a craving to get lost in a cake.
At first I was thinking of making a new shoe cake, as the Converse Sneaker Cake was my first ever sculpted cake. Back then it helped me decide to do my own thing, instead of relying on someone else to teach me the trade. I remember spending hours adding details to that mound of cake and being fascinated as the cake slowly began to look like a real shoe. Pure excitement.
But this time I decided to make a cake more symbolic of my next step. I'm heading to San Diego in about six weeks with nothing but my new car and cake supplies. I figured, why not make my car?! It would also allow me to try out a few different decorating methods from my first two cars (Maserati and Batmobile).
On the first two cakes I covered the entire thing in black fondant and then an additional layer, and cut out the windows. This time I decided to cover it in white, airbrush it, then cut out and replace the windows with black fondant. In the future...I will definitely go back to my original method. I also took advantage of my new edible printer to save some time on the details. Unfortunately with all the printed details...the cake started to look like crap. I decided that the front lights and detailing had to be done in fondant, but used the edible images for the tires, license plates, and rear lights.
I wasn't sure if I would be able to get the LED lights in this cake because it was significantly smaller than the maserati cake. Fortunately they JUST fit. Everything else is edible. Grass is buttercream, "pavement" is crushed rice cereal mixed with granulated and brown sugar.


My biggest beef with this cake is the shape of the front. It is so off! Unfortunately the sketch I created at the beginning (check out pics on my Facebook page) was not accurate, and sadly, I did not realize until I was really far along. Oh well, next time I will be more careful with my sketch.
I added the laminated paper map in the background because I thought it would be fun to highlight my upcoming route. I am very excited for the next step, and nervous of course. I will surely miss making cakes in my kitchen, but I've come a long way from making cakes out of my tiny apartment in Montreal. I know whatever is coming next is going to be that much better.